




























































































Do I Need Primer? When to Prime and How Much to Buy
Primer does three different jobs, and only some surfaces need any of them. How to tell whether yours does, and how to work out the quantity without guessing.
Calculator
Primer calculator
Room size in feet, answer in US gallons. Primer covers less than topcoat, so it gets its own coverage rates.
Buy this much
—
The honest answer to whether you need primer is that it depends on what is under your brush, and most people asking the question already have the information needed to decide. They just have not been told what primer is actually for.
Primer is not a thinner, cheaper version of paint that goes on first out of tradition. It does three distinct jobs, and different products do them. It creates adhesion on a surface that paint would otherwise sit on rather than stick to. It seals a porous surface so it does not drink your expensive topcoat unevenly. And it blocks things that would otherwise migrate up through the paint and reappear on the finished wall. Once you know which of those three problems you have, the decision makes itself. If you have none of them, primer is a wasted afternoon.
The surfaces that genuinely need it
Bare plasterboard is the classic case, and the reason is sealing rather than sticking. The paper facing and the joint compound over the seams absorb at completely different rates. Roll a topcoat straight on and the compound sucks it in while the paper does not, so once it dries you get a shadow of every joint and screw head showing through as a duller patch. Decorators call it flashing. A coat of drywall primer evens the porosity so the finish dries at one sheen.
Bare wood needs primer for a different reason. Softwoods with a lot of resin in them, particularly knotty pine, cedar and redwood, contain tannins that dissolve in water-based paint and travel to the surface as brown or yellow bleed. It can take weeks to appear, which is the cruel part, because the job looks perfect when you pack up. A stain-blocking primer is what stops it, and on knots specifically, shellac-based is the reliable choice.
Anything glossy needs an adhesion primer or a proper degloss with abrasive paper. Paint has nothing to grip on a slick surface, and while it may look fine for a year, it will peel in sheets the first time something knocks it. The old test still works: if you can see your reflection in it, it needs help.
Stains need blocking, and this is where the wrong choice actually costs you a repaint. Water marks, smoke damage, nicotine and marker pen all bleed through water-based paint, including water-based primer, in most cases. They need a shellac or oil-based stain blocker. Painting a water stain with three coats of emulsion and watching a brown ring reappear each time is one of the most common ways people waste a weekend.
Bare masonry, render and new plaster are all porous enough to need sealing. New plaster in particular is usually treated with a thinned coat of emulsion, often called a mist coat, rather than a conventional primer.
The surfaces that do not
If the existing paint is sound, clean and not glossy, and you are not doing something drastic with the colour, you can skip primer and put your money into a better topcoat instead.
The one thing to prime in that situation is the repairs. Filler and patching compound are far more absorbent than the paint around them, so they flash exactly the way bare plasterboard joints do. Spot-priming the patches takes ten minutes and saves the extra full coat you would otherwise need to hide them.
Paint-and-primer-in-one products belong to this scenario rather than replacing the ones above. They are topcoats with a higher solids content, which genuinely helps them build and hide in fewer coats over a sound painted wall. They do not contain a tannin blocker or a bonding resin, so on bare wood or gloss they are simply a topcoat with marketing on the tin.
Colour change is its own judgement call. Going from one mid-tone to another rarely needs primer. Going from a deep red or a strong yellow to white is where a tinted primer earns its place, because those pigments are transparent enough that they will grin through two coats of white and sometimes three.
Working out the quantity
Primer covers less ground than topcoat, and by more than most people expect, because the surfaces you prime are the thirsty ones. That is the whole reason primer exists, so it should not be a surprise, but it does mean the coverage figure on a paint tin is the wrong number to plan with.
Typical coverage per gallon, before you account for a roller-happy afternoon:
| Surface | Primer | Eggshell topcoat |
|---|---|---|
| Smooth plasterboard | 300 sq ft | 400 sq ft |
| Textured plasterboard | 250 sq ft | 300 sq ft |
| Bare wood | 250 sq ft | 300 sq ft |
| Previously painted | 350 sq ft | 400 sq ft |
| Brick | 200 sq ft | 200 sq ft |
| Stucco or render | 200 sq ft | 200 sq ft |
In metric, 300 sq ft per gallon is roughly 7.4 m² per litre, and 200 sq ft per gallon is closer to 4.9.
The arithmetic itself is simple. Measure the perimeter of the room, multiply by wall height for the gross area, then take off the openings. A standard door is about 20 sq ft, a patio or French door around 40, a standard window about 15 and a large picture window about 25. Divide the net area by the coverage figure for your surface.
Take a 12 by 14 foot room with 8 foot ceilings. The perimeter is 52 feet, so the gross wall area is 416 sq ft. Deduct one door and two standard windows and you are at 366 sq ft. On smooth bare plasterboard at 300 sq ft per gallon, that is 1.22 gallons of primer, so a gallon plus a quart rather than the two gallons most people would buy on instinct.
Two things routinely break that calculation. The first is texture, which can easily add 20 to 30 percent to the real surface area without changing a single measurement. The second is ceilings, which people forget to include and then have to make a second trip for.
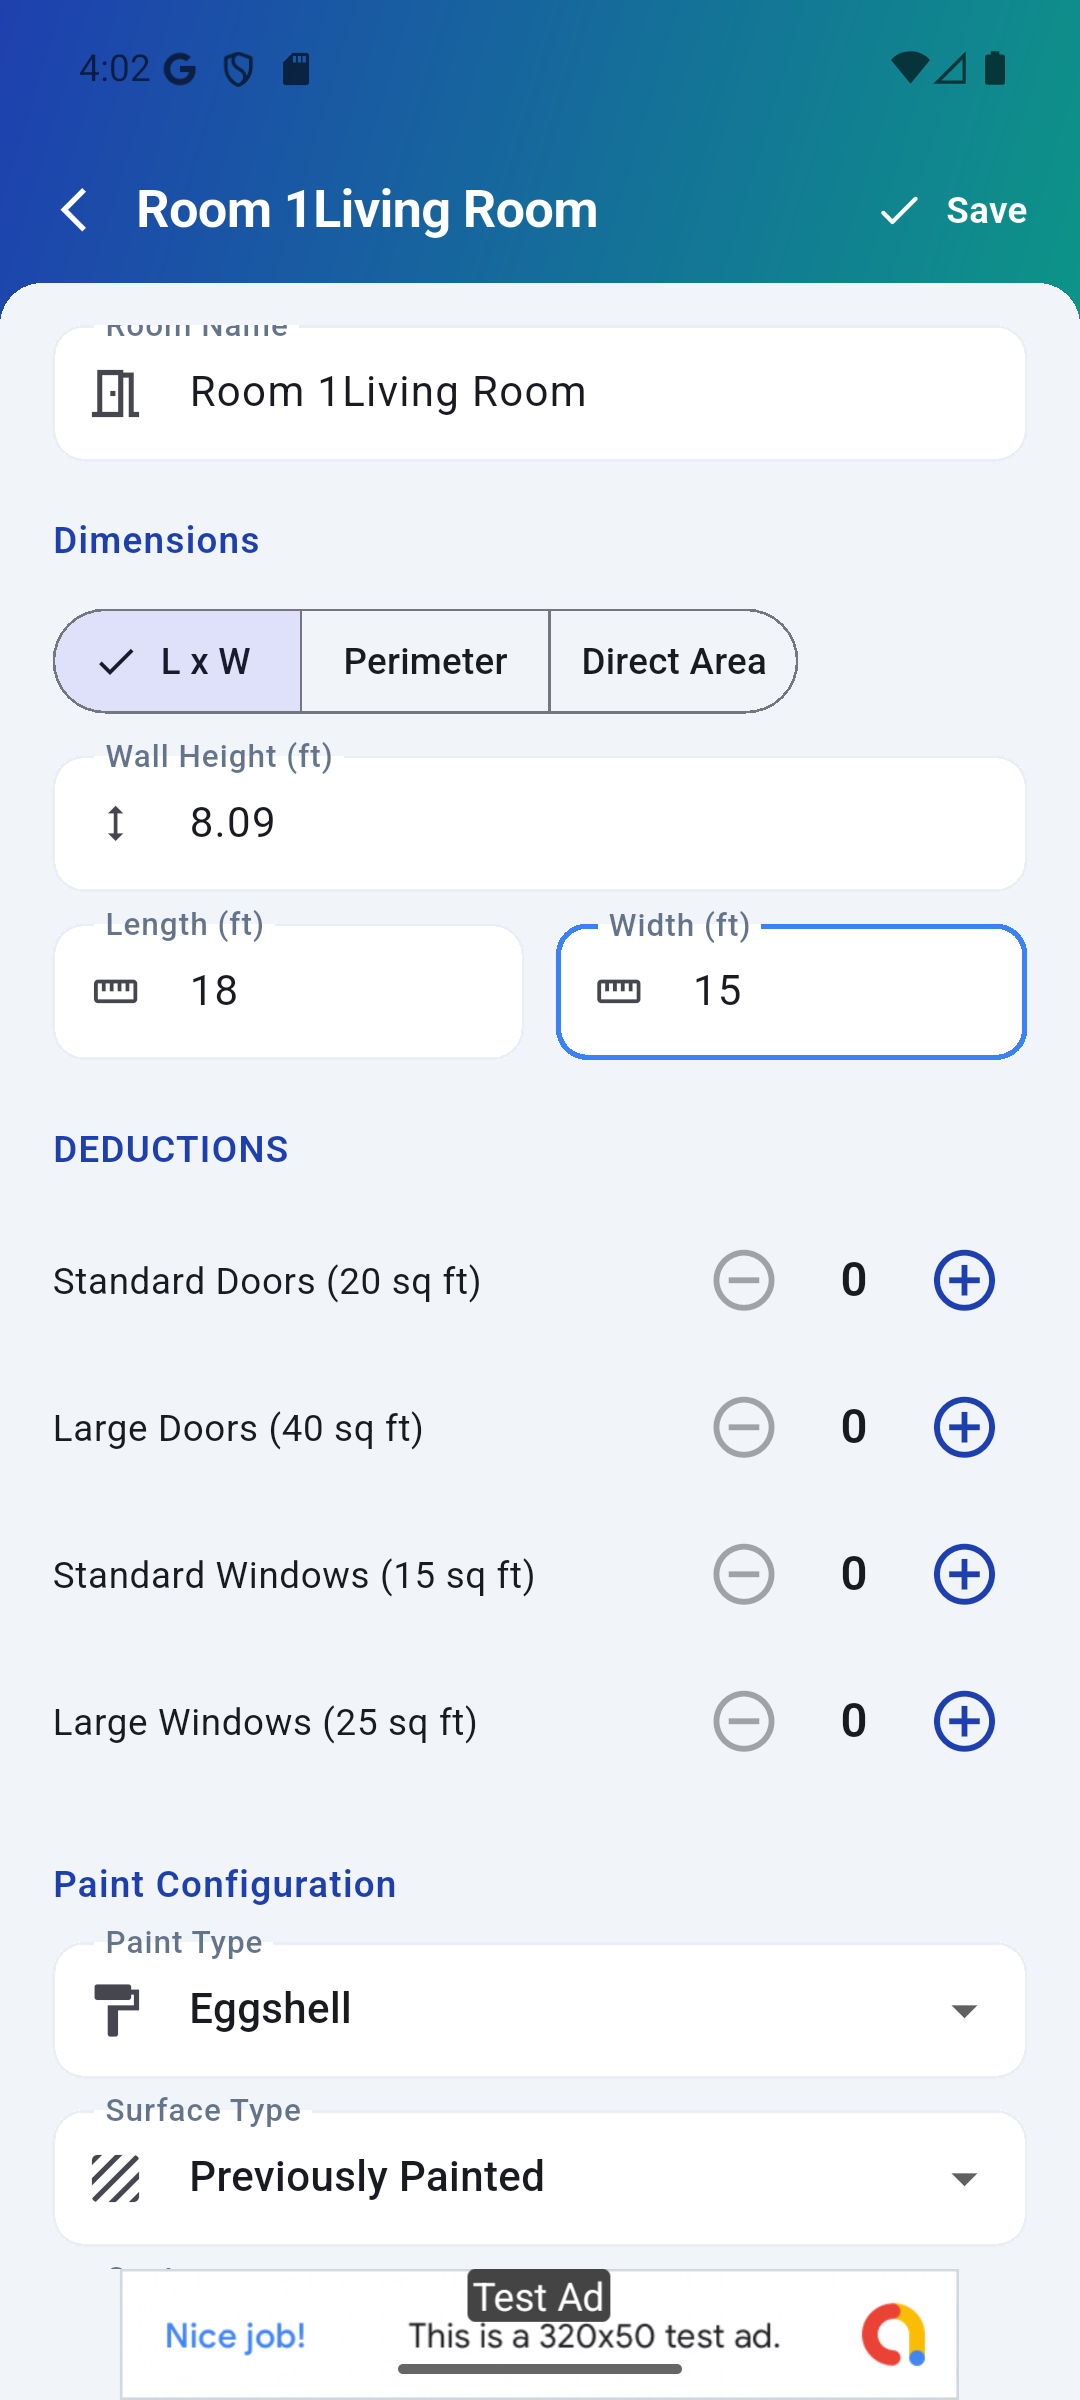
If you would rather not do this per room with a calculator and a notepad, PaintCalc holds the coverage rate for each paint and surface combination and applies the deductions as you enter them, which mostly matters because it stops you using the topcoat figure for the primer coat. The same method applied to the finish coats is covered in the guide on how much paint you need.
Tinting is the trick worth knowing
Ask for your primer to be tinted towards the finish colour. Most shops do it at no extra cost, and it is the single most effective way to cut a coat off a strong colour.
The mechanism is straightforward. A deep colour usually needs several coats over white not because the paint is thin but because the eye keeps reading the white through it. Start from a grey or a tinted base in the same family and the second coat lands at full depth. On a dark navy or a strong red, that can be the difference between two finish coats and four, and finish paint costs considerably more per litre than primer does.
The counterpart mistake is priming white and then buying a fifth tin of expensive colour to fix what a tinted primer would have solved for the cost of a shake in the mixing machine.
The mistakes that cost a repaint
Priming a dirty surface is the big one. Primer improves adhesion to the surface it can reach, and it cannot reach through kitchen grease, dust or old smoke residue. Wash first, particularly anything above a cooker or in a bathroom.
Rushing the recoat time is the second. Primer needs to cure, not just feel dry, and the times on the tin assume reasonable temperature and humidity. Painting over primer that has not properly hardened undoes its adhesion.
And using a water-based primer on a water stain is the third, which is worth repeating because it looks like it worked right up until it does not. The stain reappears through the finish a few days later, and by then the room is back in use.
None of this makes primer a default step. It makes it a decision, taken once you have looked at what you are actually painting. Sound painted wall, no drama: skip it, buy better paint. Bare, glossy, stained or a big colour jump: prime, and tint it while you are there.
Common questions
Do I need primer if the wall is already painted?
Usually not. If the existing paint is sound, clean, not glossy and you are not making a drastic colour change, a decent topcoat will do the job on its own. Prime the patched areas rather than the whole wall, or the filler will flash through as dull spots.
Is paint-and-primer-in-one good enough?
Over a sound painted wall, yes. It is a topcoat with more solids in it, so it builds better and hides better than a thin paint. It is not a substitute for a real primer on bare drywall, bare wood, glossy surfaces or stains, because those need adhesion, sealing or stain blocking that a topcoat is not formulated to provide.
How many coats of primer do I need?
One, applied properly. Primer is there to change the surface, not to build a film, so a second coat is mostly wasted money. The exception is heavy stain blocking, where a second pass over the stain itself is sometimes needed before the topcoat goes on.
Does tinting primer actually save a coat?
Often, yes, when you are going to a strong or dark colour. A primer tinted towards the topcoat means the finish colour reaches full depth sooner, and one tinted gallon can save a whole gallon of expensive finish paint. Most paint shops will tint primer at no extra charge.
Photos: Polina Tankilevitch / Pexels , Ivan S / Pexels