















































































































































































How to Save Synth Patches Without Patch Memory
A synth with no presets forgets the sound at power off. How to record a patch you can rebuild: panel photos, clock positions, labelled cables and a recording.
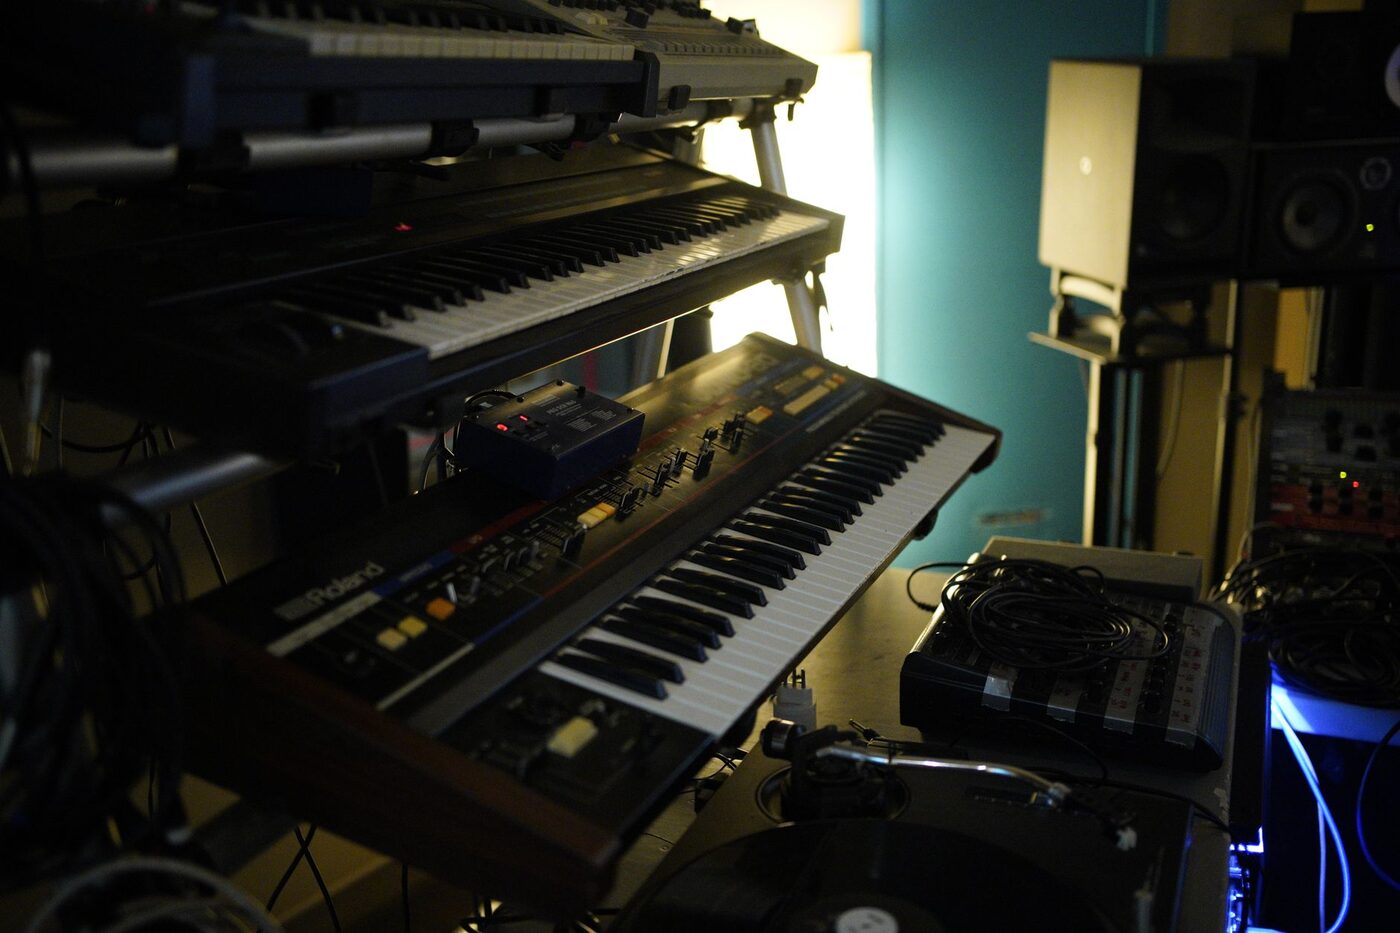
Photograph the whole panel, write every knob down as a number or a clock position, note what each patch cable carries, and record thirty seconds of the sound playing. That is the save button on a synth with no memory, and the written half of it is a method Moog builds into its own manual. The owner’s manual for the reissued Minimoog Model D gives pages 54 to 79 to patch sheets, a drawing of the front panel for each sound with a line for notes, and the last of them are left blank for yours.
A photo alone gets you close. The recording is what tells you when you have arrived.
Why a rebuilt patch never lands in quite the same place
Start with the parts. A knob on a synth panel turns a potentiometer, and potentiometers are not precision parts. Bourns’ data sheet for its PTV09 series, an ordinary 9 mm panel pot, gives a standard resistance tolerance of plus or minus 20 percent and a mechanical angle of 280 degrees, give or take 10. Two pots from the same reel can sit at the same pointer position and deliver different values, and so can one pot on two different days if you read the pointer from a slightly different angle. The same sheet rates it for 10,000 rotations, a fair reason not to scrub a knob back and forth hunting for a sound you never wrote down.
Then the circuit. Analog oscillators drift with temperature. The Minimoog Model D owner’s manual asks you to let the instrument warm up for 10 to 20 minutes, for “the most stable performance”, and lists a nominal operating range of 10 to 35 degrees Celsius. A patch saved late in a long session and rebuilt two minutes after power on is being compared with a different instrument.
Then you. A 2017 study by Kai Siedenburg and Stephen McAdams, published in the journal Memory and hosted by McGill University, describes short-term memory as a system “of limited capacity that decays within seconds”. In their first experiment, musicians recognised familiar instrument recordings better than unfamiliar, digitally altered versions of the same sounds. A patch you built tonight is unfamiliar by definition.
So the knob positions get you into the right neighbourhood, and your ear has to finish the job against a recording.
1. Let it warm up before you save anything
Turn the synth on before you start patching. Save a sound on a cold instrument and the record captures the drift along with the settings, so the rebuild is wrong in a way no photo explains.
Write the warm-up time into the notes, along with roughly how warm the room was. It is the line you will be glad of in February.
And if the oscillators will not hold tuning even when warm, that is a service job, not a note-taking problem: Moog says the Model D’s tuning procedure “should only be performed by a qualified technician”.
2. Start every patch from the same zero
Moog’s own tuning procedure opens by setting every control to a known position and writing it out in plain words: “TUNE: Centered”, “GLIDE: Fully CCW”, “OSC 1 VOLUME: 10”, “OSC 3 CTRL: ON (Up position)”. Borrow the habit.
Decide what zero means for each synth and write it on one card: modulation amounts down, glide off, filter open, every oscillator but the first silent. Build every sound from there. Then the record for a patch covers the controls you moved and nothing else, and anything not listed is at zero by definition. A patch sheet with a mark on every control is a patch sheet nobody reads twice.
3. Photograph the panel square on, with light from both sides
The Canadian Conservation Institute photographs heritage objects for a living, and its guide to lighting techniques describes the setup for an even, accurate picture: lights “positioned at a 45-degree angle on both sides”, which it says reduces glare. A synth panel is a museum object for these purposes. Glossy knob caps and brushed metal throw hot spots that hide the white pointer line, and a single desk lamp from one side puts a shadow across every knob.
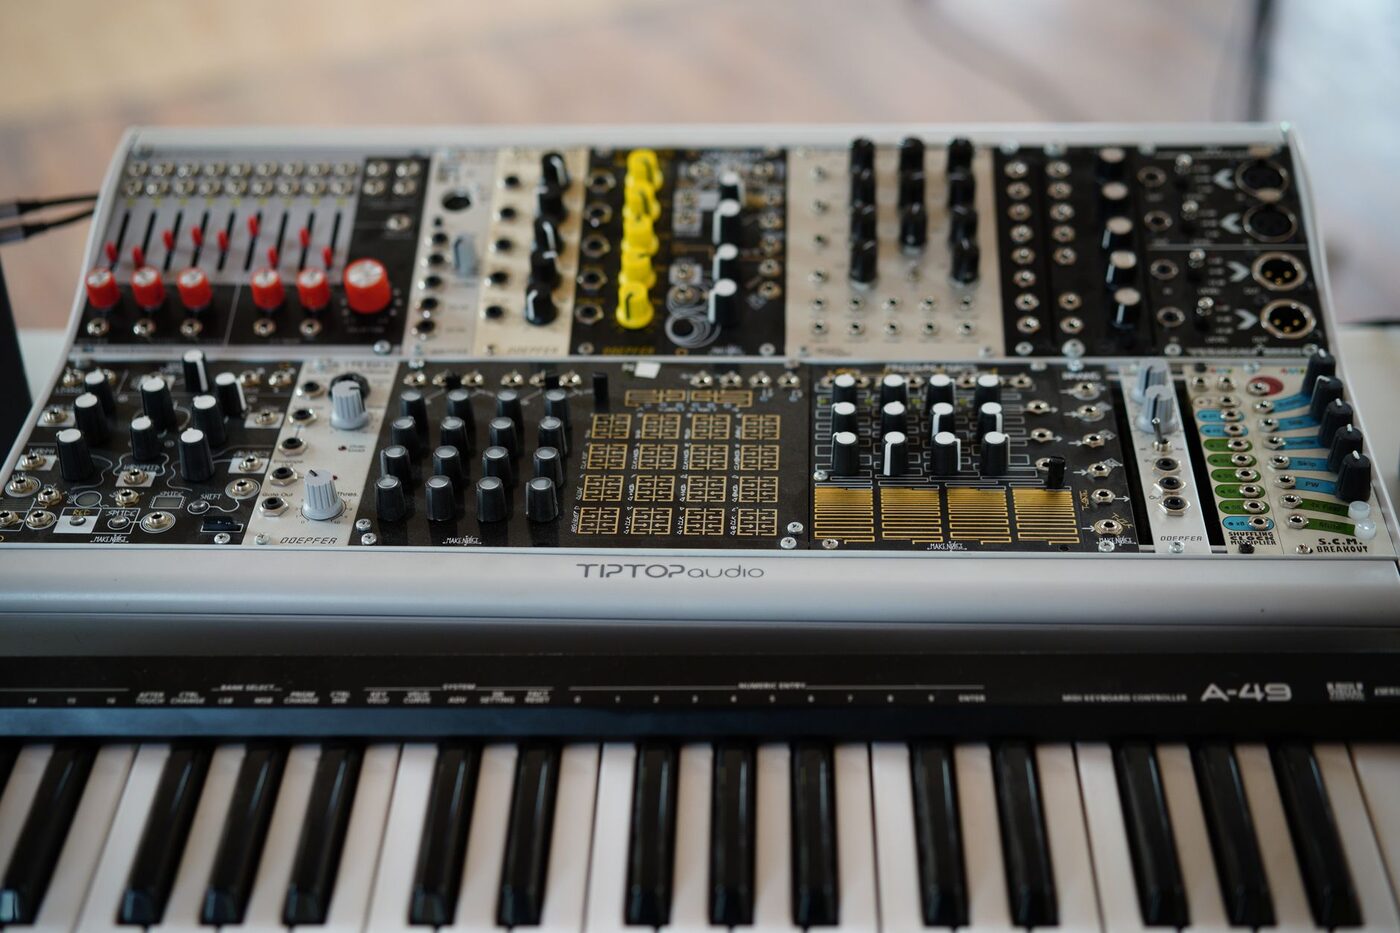
Hold the phone parallel to the panel and directly over it. A shot taken at an angle skews every pointer, the exact error you are trying to avoid. Take one picture of the whole panel so you can see the layout, then tight shots of each section, near enough that you can read where each pointer sits.
Avoid what the same guide calls raking light, a lamp at 5 to 10 degrees to the surface. It shows texture, which on a synth means dust, and stretches each knob’s shadow until it looks like the pointer.
4. Write the knobs down as clock positions
If the knob has a printed scale, as the Model D’s do, write the number. If it has no scale, write the clock position, imagining noon as straight up. Half hours are as fine as anyone can honestly read a pointer.
It helps to know what those positions mean. The table below is worked out from the 280-degree sweep in the Bourns data sheet, assuming the knob is centred at noon. Your synth’s pots may sweep a few degrees more or less, so treat it as illustrative.
| Clock position | Degrees from fully counter-clockwise | Share of the knob’s travel |
|---|---|---|
| About 7:20 | 0 | 0% (fully counter-clockwise) |
| 9:00 | 50 | 18% |
| 10:00 | 80 | 29% |
| 11:00 | 110 | 39% |
| 12:00 | 140 | 50% |
| 1:00 | 170 | 61% |
| 2:00 | 200 | 71% |
| 3:00 | 230 | 82% |
| 4:00 | 260 | 93% |
| About 4:40 | 280 | 100% (fully clockwise) |
Two things fall out of it. Fully counter-clockwise is not seven o’clock, so write “all the way down” rather than “7:00”. And each clock hour is about a tenth of the travel, a big jump on a filter cutoff, so write 1:30 when the pointer sits between one and two.
Switches get words, not positions. Moog writes “Up position” and “ON”. Copy that, because “left” means nothing once the synth is on a different stand.
5. Label every cable with what it carries
On a modular or semi-modular synth the cables are half the patch, and a photo of a cable jungle tells you almost nothing. Write each connection as source jack, destination jack, and what the signal is.
The last part matters more than it looks. Doepfer’s technical notes for the A-100 modular system put the conventions in numbers: pitch control rises one octave per volt, a gate counts as high above about +3 volts and low below 1 volt, and audio swings around 10 volts peak to peak, from -5 to +5. Then comes the line that makes labelling necessary: “anything can be modulated by anything else”. The same page points out that an LFO output can serve as audio or as a control voltage. Two identical-looking cables out of the same module can be doing completely different jobs, and your note is the one thing that says which.
Add the attenuator setting at the destination, where the amount tends to live. On a semi-modular, also note which normalled connections you broke by plugging in, because the default routing behind the panel never shows in a photo.
6. Record thirty seconds of it playing
Short-term memory for a sound fades within seconds and every knob reading carries error, so the thing that settles an argument six months later is the sound itself.
Play the same short script every time: a low note held long enough to hear the envelope finish, a middle note, a high note, then whatever the patch is for, a bass line or a pad swell. If the sound depends on a performance control, use it on the recording and say so in the notes, the way Moog’s own sheets do: “Use Mod Wheel to introduce vibrato.”
The phone’s microphone is good enough. This is a reference, not a master take. The Library of Congress describes AAC as a perceptual audio format designed for efficient distribution, and efficient is exactly what you want for hundreds of short clips you will play once each to check a filter setting.
7. Note where the sound lives and what it is for
Last, the boring lines that make the record findable: which synth, which song it belongs to, and where any related data lives, such as a sequencer pattern slot, a sample on an SD card or a bank number on an effects unit. Add a few tags in your own words and a rating, so a search for “bass” in a year can be cut down to the ones you liked.
Moog’s sample sheets keep a notes line under every sound for this. One sentence of intent, such as “fat but leaves room for the kick”, tells you more on rebuild day than another photo.
If your synth has memory, save the patch twice anyway
Memory synths have the opposite problem. The Korg minilogue xd owner’s manual promises 500 programs, 300 of them for your own sounds, and then warns that “any edits that you make will be lost if you turn off the power or recall a different program”. Writing the program into a slot is the save. Forget it once and the sound is gone.
The same manual explains why a photo of a memory synth tells you little. In its Catch knob mode, “Turning the knob will not change the parameter value until the knob position matches the stored value”. After you load a program, the panel shows wherever the knobs were left last time, not the sound you are hearing. Do not photograph it; write the bank and program number instead.
For the backup, use System Exclusive. The MIDI Association’s summary of MIDI 1.0 messages describes SysEx as the message type that lets manufacturers create their own messages, “such as bulk dumps, patch parameters”. The minilogue xd’s Program Dump sends the current program as SysEx to a computer or MIDI data filer. Keep that file with your notes, along with the MIDI channel, because a Program Change message carries a seven-bit number, 0 to 127, and does nothing on the wrong channel.
Keeping the whole record on your phone
Paper patch sheets work until you lose the folder. The photo is already on your phone, so the useful step is keeping it, the notes and the recording together under the patch’s name.
That is the job of a synth patch library that keeps the panel photos with each patch. In SynthPatch every patch belongs to one of your synths and carries its front-panel photos, from the camera or the gallery, which open full screen and zoom to five times so you can read a pointer. Each patch also has a category, your own tags, a star rating, notes, and a “Stored at” line for the bank number, patch sheet or SD card. Search runs across every synth at once, by name, tag, notes or where the sound is stored.
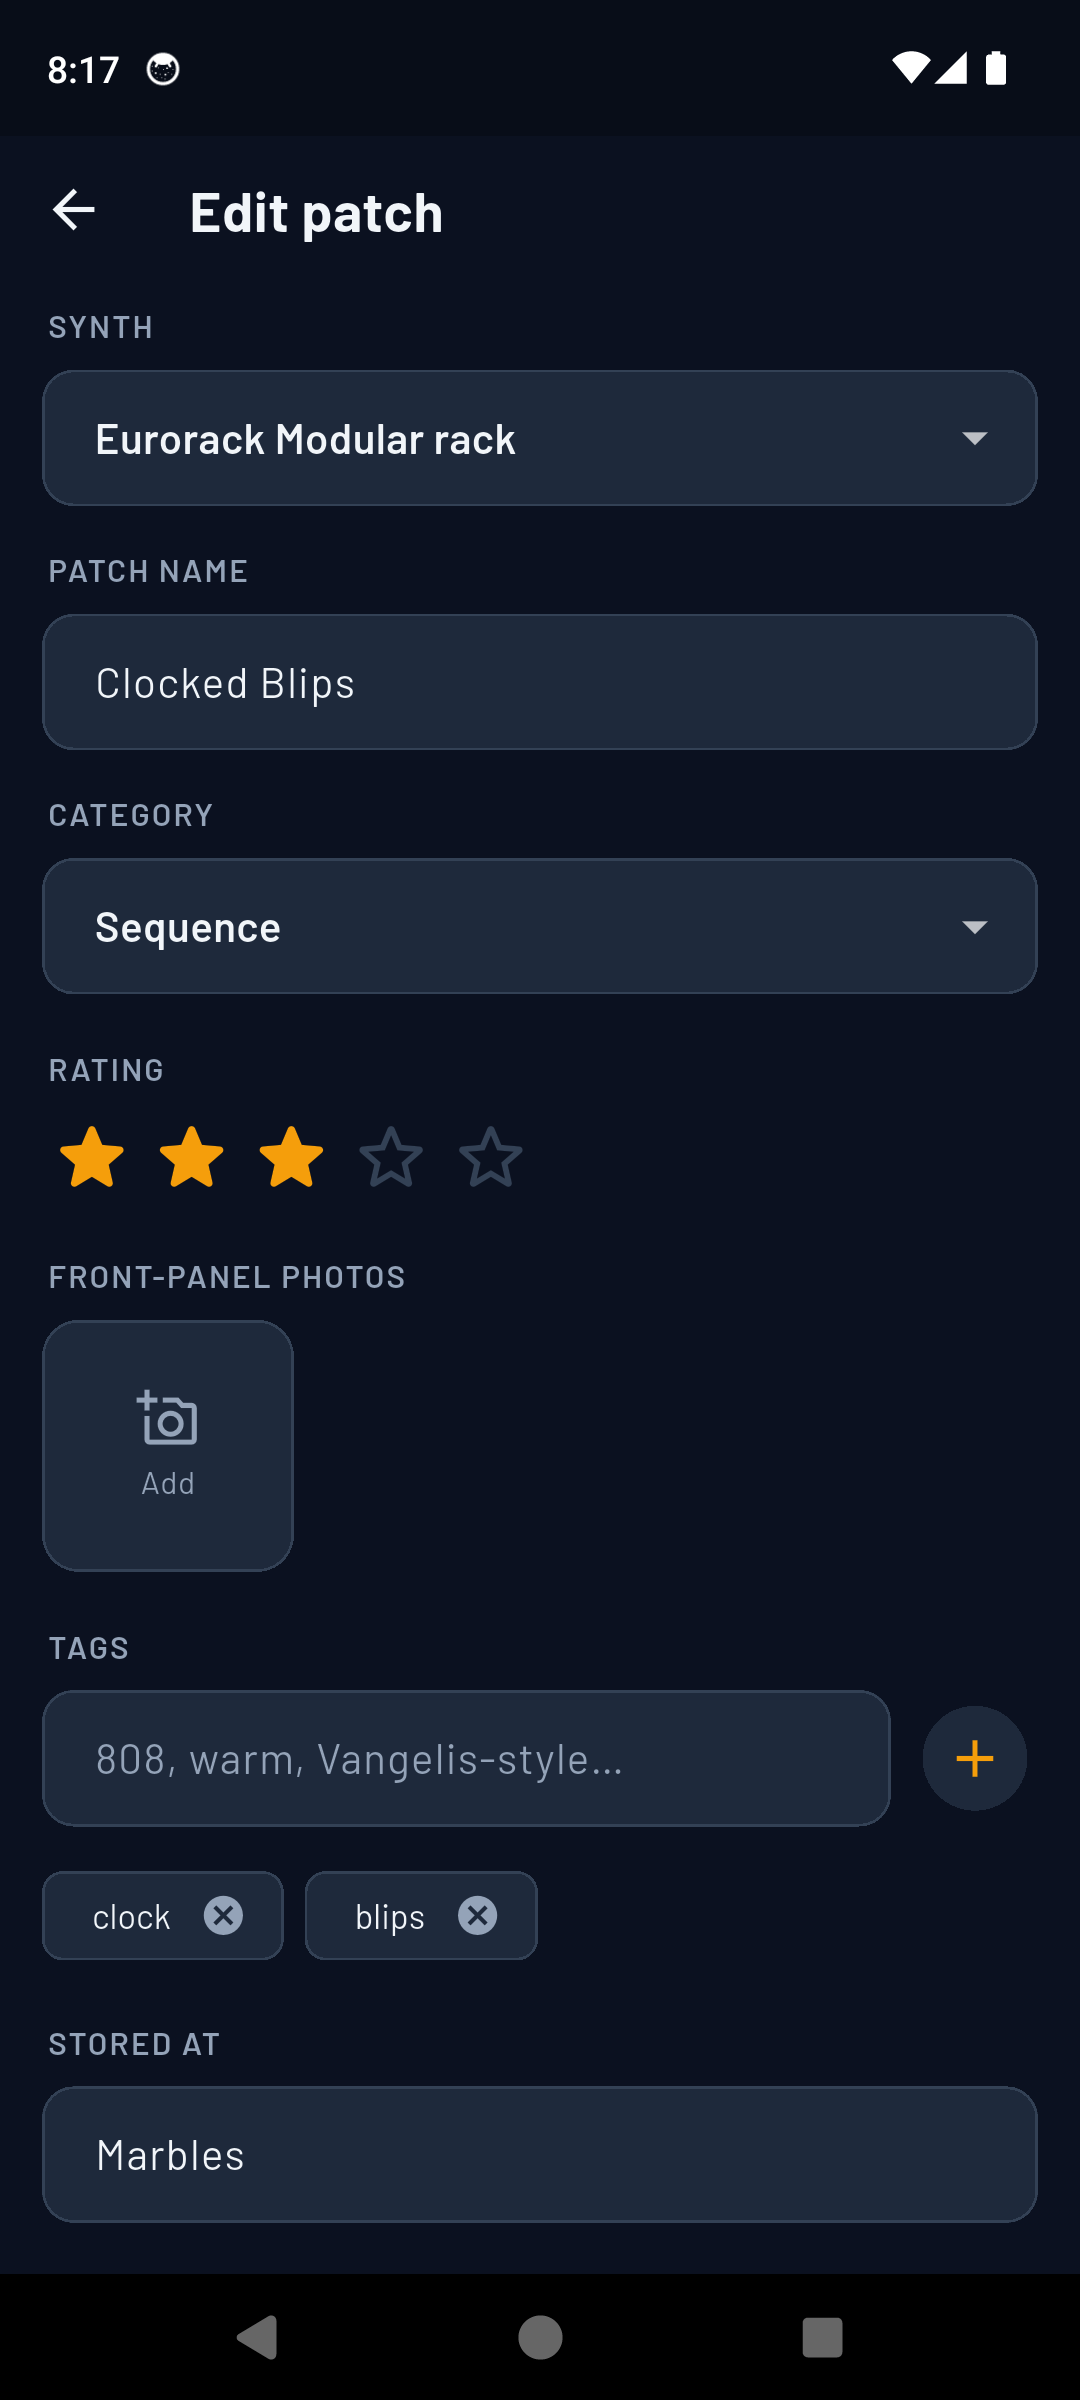
The audio note is where it earns its keep for step six. Edit the patch, tap Record audio note, and the app captures up to 30 seconds of the sound through the phone’s microphone, saved with that patch as AAC at 128 kbps. Months later, the knob photo and the clip sit on the same screen, so you can rebuild from the picture and then play the clip against the synth until the two match.
Cables go on a separate signal chain screen: named snapshots of what is connected to what, in order, each connection marked Audio, CV, Gate, MIDI, USB or Clock with an optional cable label, plus a patchbay photo. Each synth’s patches can be exported as a PDF patch book grouped by category, and a full backup file includes the photos and the audio. Audio notes and the PDF patch book come with the one-time unlock.
Rebuilding a patch from the record
Warm the synth up for as long as the notes say you did, and set the panel to your zero. Then the switches, the cables, and the knobs from the close-up photos.
Then stop looking at the photo and play the recording. Match the pitch of each oscillator by ear, then the filter cutoff and resonance, which carry most of a sound’s character, then the envelopes. If the photo says one o’clock and the sound matches at a quarter past, believe the sound. The pointer was read by eye and the circuit may be warmer or colder than it was, but the recording cannot be misread.
Write the corrected position back into the record, so each rebuild leaves a better note.
The sound you have on the panel right now is the one at risk, so do it before you touch anything else: two photos, one clip, three lines of notes. If you would rather keep all of that in one place on your phone, start a patch library in SynthPatch with that sound as its first entry.
Common questions
Can you save presets on a synth that has no patch memory?
Not inside the instrument. On a synth with no memory the knobs and cables are the patch, so saving means recording their positions outside it: a photo of the panel, the knob settings written as numbers or clock positions, the cable routing, and a short recording of the sound. Rebuilding from that record gets you most of the way, and the recording lets your ear finish the job.
What is a synth patch sheet?
A drawing of the synth's front panel with space to mark where every knob, switch and cable sat for one sound, plus a line for performance notes. Moog's owner's manual for the reissued Minimoog Model D gives pages 54 to 79 to patch sheets, some filled in and the rest blank, and points owners to its website for more. A clear photo of the panel does the same job faster, though a sheet is easier to read at a glance.
How do I back up the patches on a synth that does have memory?
Send them out as a System Exclusive dump. The MIDI Association's message summary lists System Exclusive as the message type manufacturers use for their own data, bulk dumps and patch parameters included. On a Korg minilogue xd, for example, the Program Dump function transmits the current program as SysEx to a computer or MIDI data filer, which you then keep as a file.
Why does my rebuilt analog patch sound different from the one I saved?
Three reasons stack up. A common 9 mm panel pot such as Bourns' PTV09 is made to a resistance tolerance of plus or minus 20 percent, so one pointer position does not guarantee one value, and an analog instrument drifts until it is warm: Moog asks for 10 to 20 minutes on the Model D. Your memory of the sound is the third: short-term memory decays within seconds, which is why a recording beats recollection.
Photos: Giuseppe Di Maria / Pexels , Giuseppe Di Maria / Pexels